(Hands-On) Reproduce Prior a State from Snapshot
1. Check out the logs
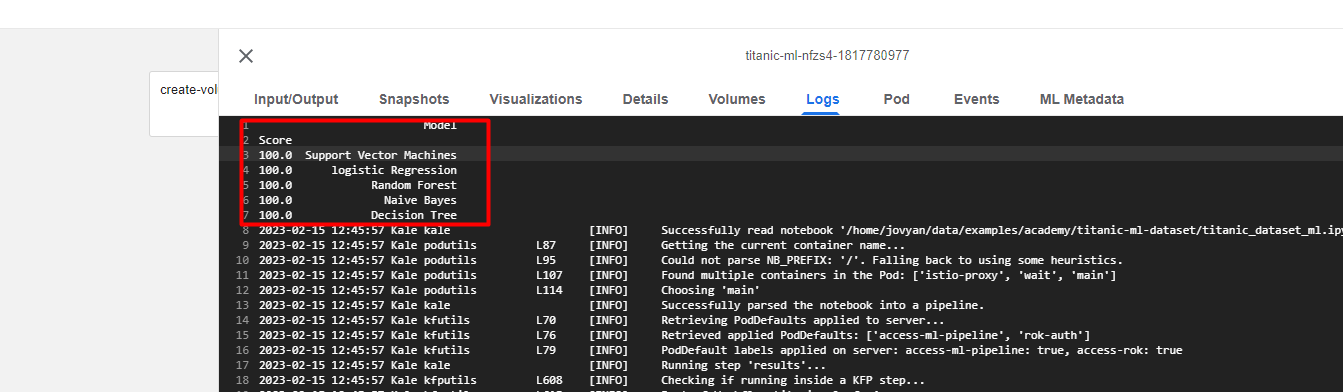
Have a look at the logs for the second-to-last pipeline step “results”. Notice that all the predictors show a score of 100%. An experienced data scientist should immediately find this suspicious. This is a good indication that our models are not generalizing, either we are overfitting on the training dataset or there might be some other mistake in the input features. This is likely caused by an issue with the data consumed by the models.
2. Restore Notebook
Fortunately, Rok takes care of data versioning and reproducing the whole environment as it was the time you clicked the Compile and Run button. This way, you have a time machine for your data and code. Let’s resume the state of the pipeline before training one of the models and see what is going on.
Choose one of the following options, based on your version.
a. Go to the randoforest step
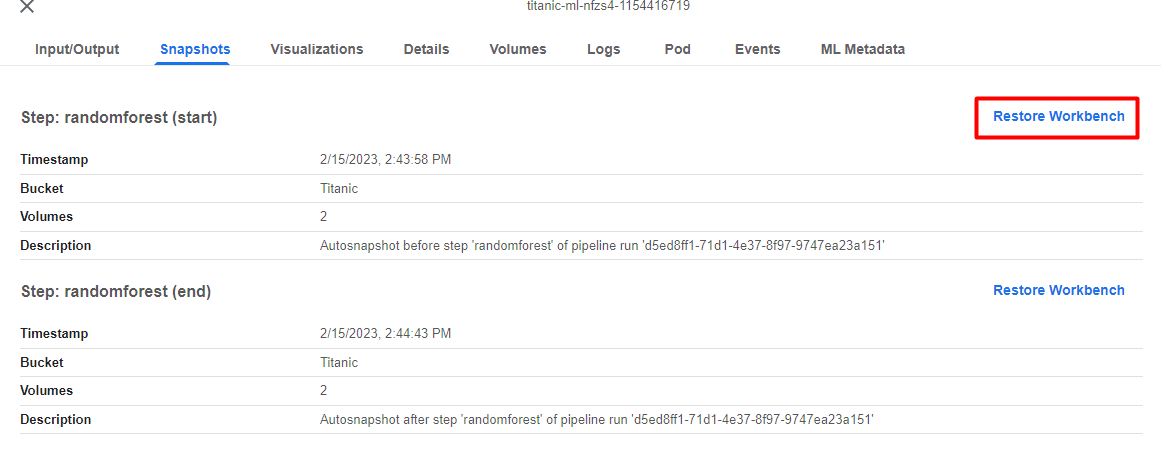
Take a look at the randomforest step, then click on Snapshots.
b. Restore state from pipeline
Click on the first Restore Workbench button to restore the state of pipeline run before the randomforest step.
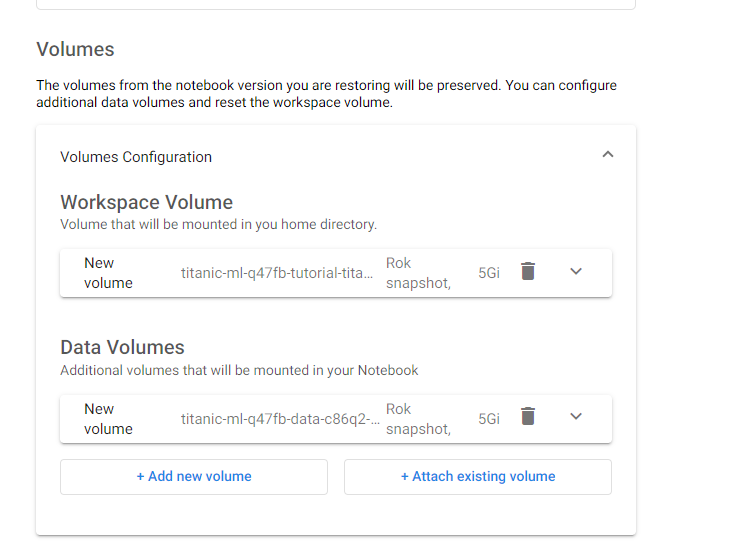
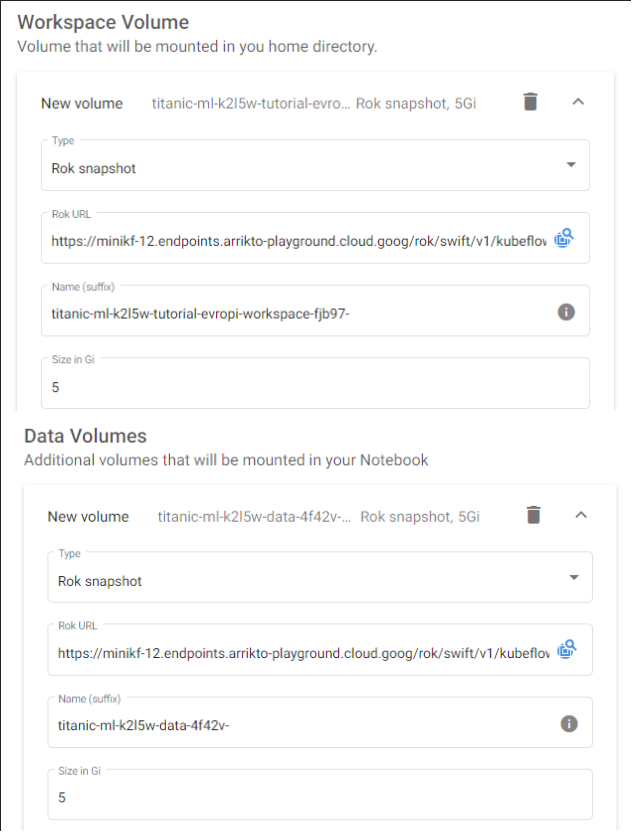
c. Check the volume information
The volume information should have been filled automatically:
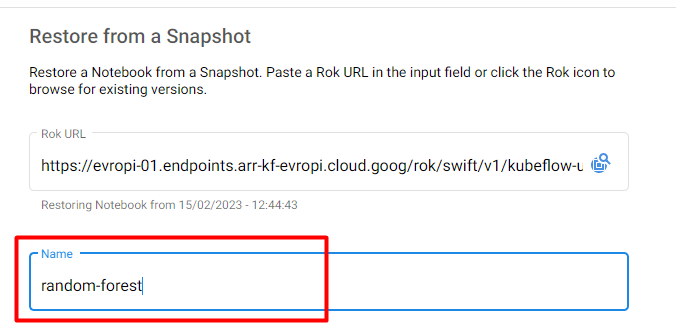
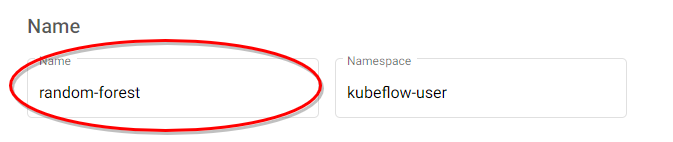
d. Name your notebook
Specify a name for your notebook:
a. Go to the randomforest step
Take a look at the randomforest step, then click on Visualizations.
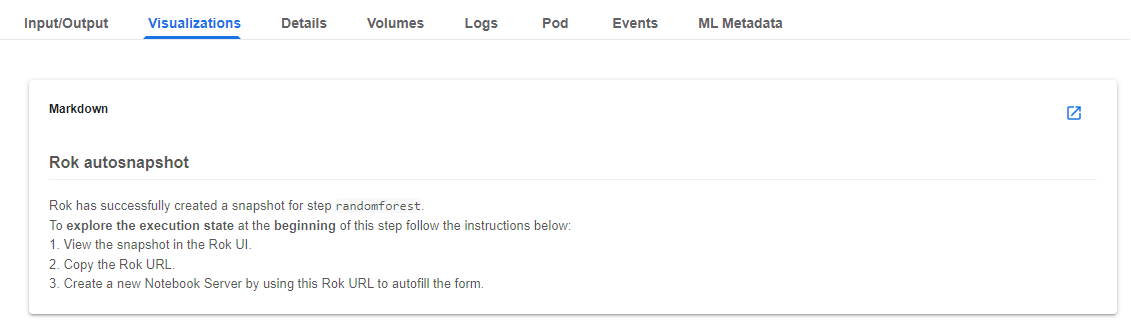
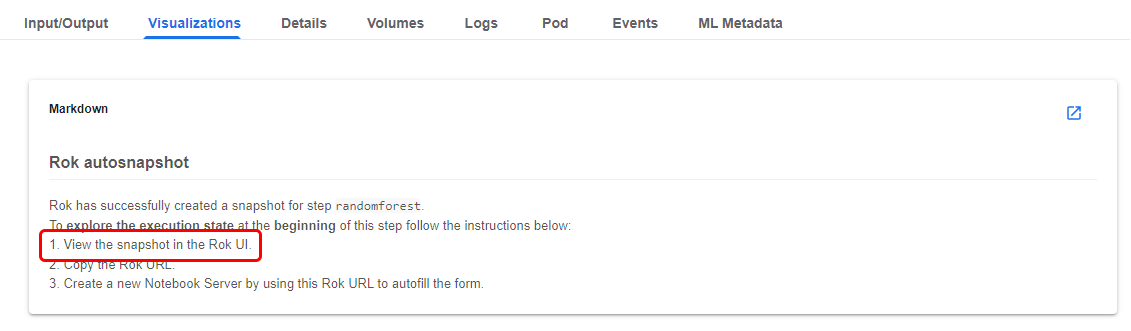
b. View the snapshot in Rok UI
Follow the steps in the Markdown. View the snapshot in the Rok UI by clicking on the corresponding link.
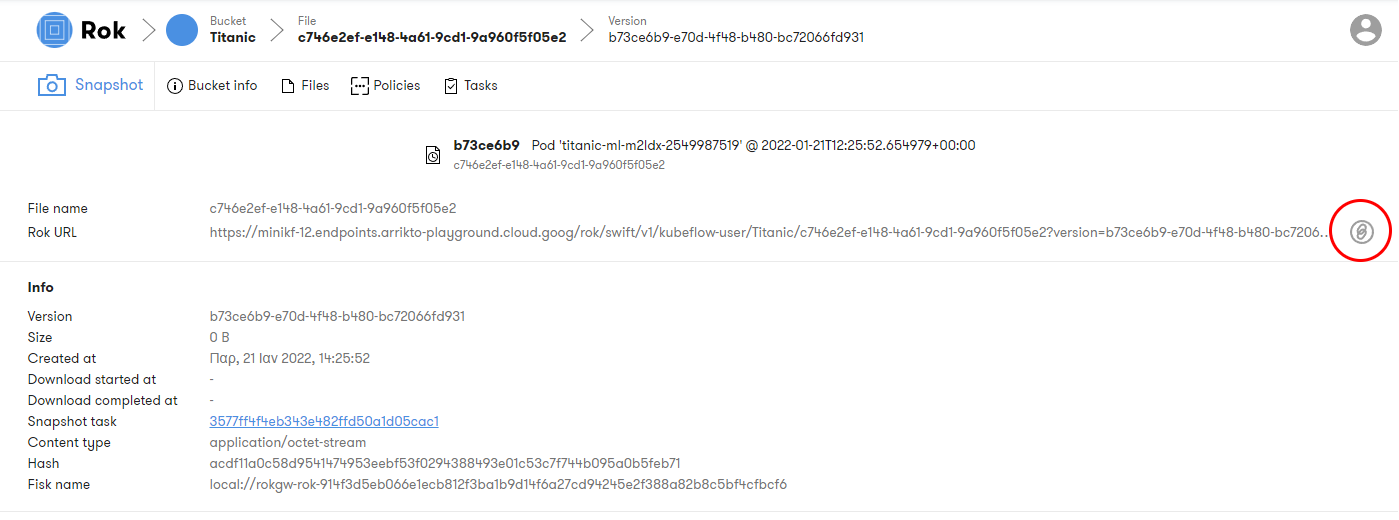
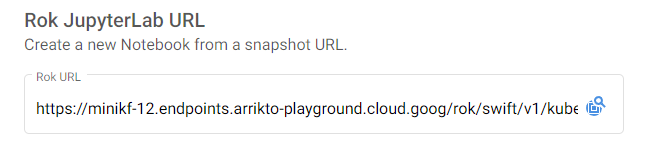
c. Copy the URL
Copy the Rok URL.
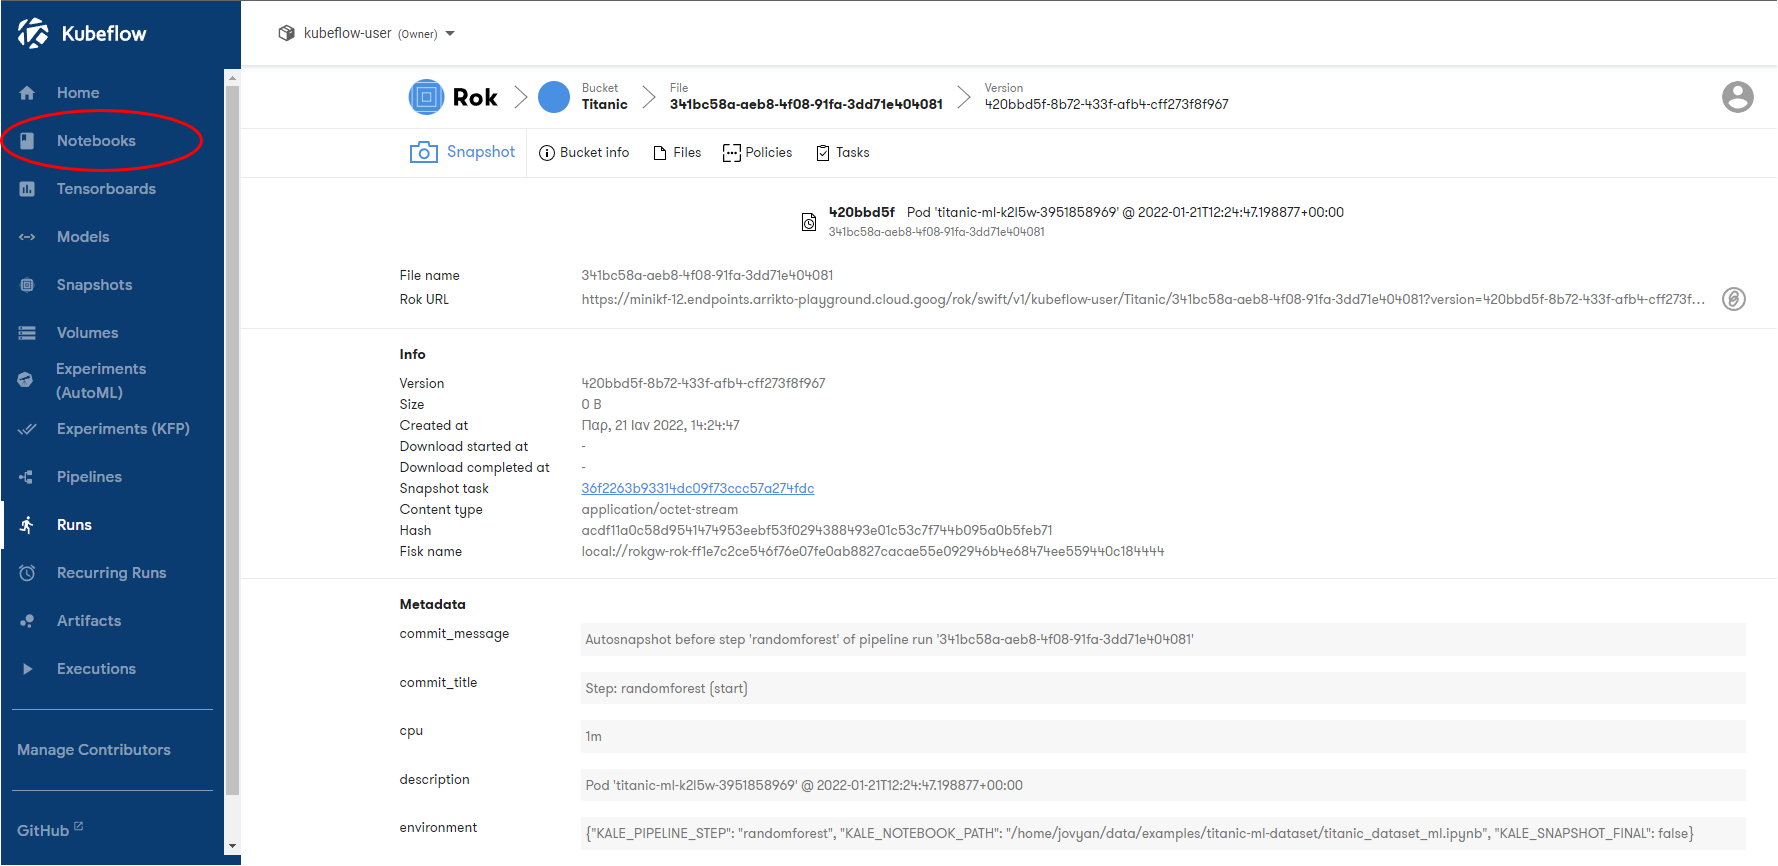
d. Go to Notebooks
Navigate to the Notebooks tab.
e. Add new Notebook
Click on New Notebook:

f. Paste the Rok URL
Paste the Rok URL you copied previously:
All the snapshot details, including notebook image and volumes, will be retrieved automatically, and you will see this message:

g. Use the default Docker image
Make sure you are using the default Docker image. This image will have the following naming scheme:
gcr.io/arrikto/jupyter-kale-py36@sha256:<IMAGE_TAG>
h. Check the volume information
The volume information should have been filled automatically:
i. Name your notebook
Specify a name for your notebook:
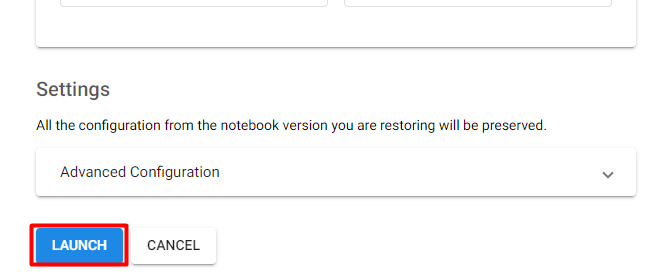
2. Create the notebook
Click LAUNCH to create the notebook:
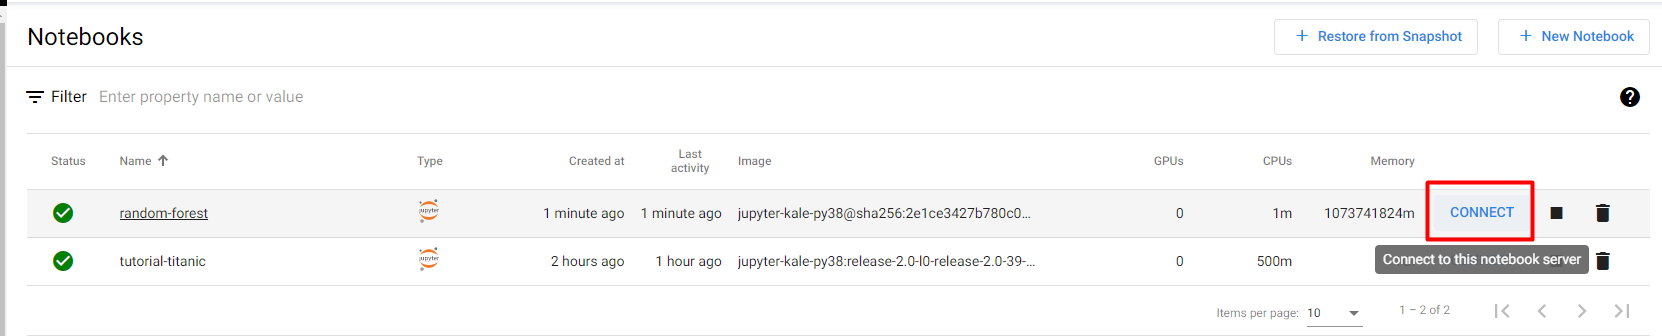
3. Connect to the notebook
When the notebook is available, click CONNECT to connect to it:
Note that the notebook opens at the exact cell of the pipeline step you have initiated:
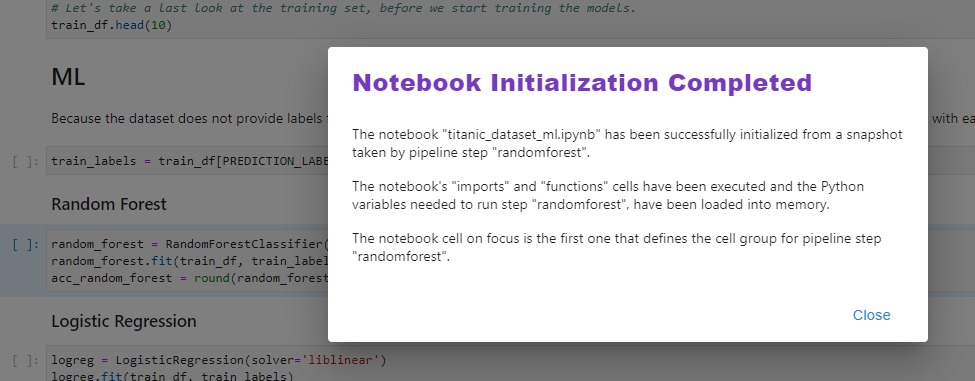
In the background, Kale has resumed the notebook’s state by importing all the libraries and loading the variables from the previous steps.