(Hands-On) Serve the Model from Inside the Notebook
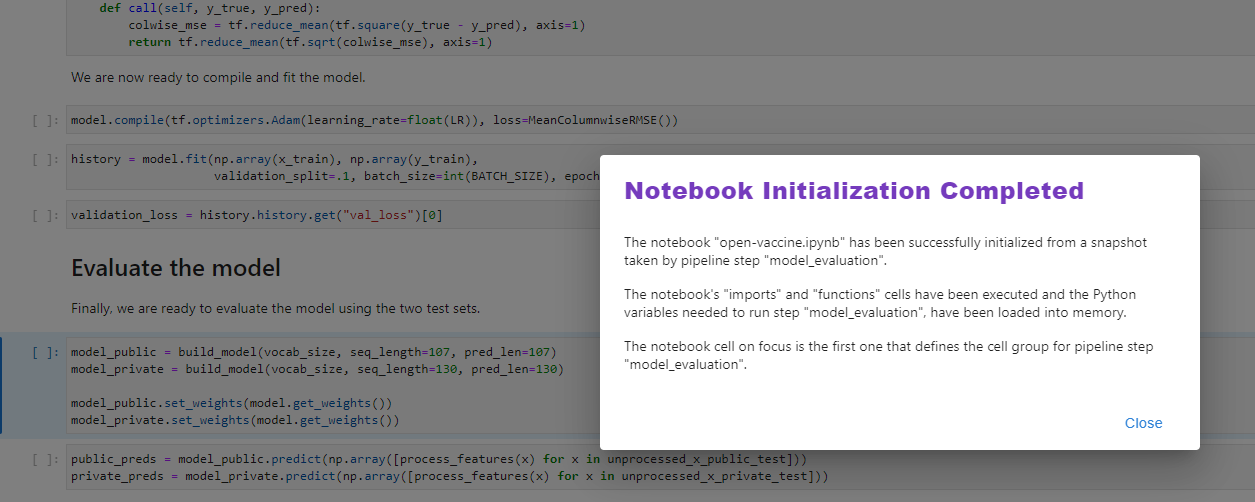
Kale has unmarshalled all the necessary data so that the current in-memory state is exactly the same as the one that we would have found at that specific point in time in the pipeline execution. Thus, we now have in our memory the model of the best Katib trial. You should now see the following screen:
1. Create the inference service
Choose one of the following options based on your version.
a. Create preprocess function
Create a transformer component for your inference service. Go to the Serve the Model section, and run the following cell:

b. Create an inference service
Use the serve function provided by Kale to create an inference service. To do so, run the following cell:

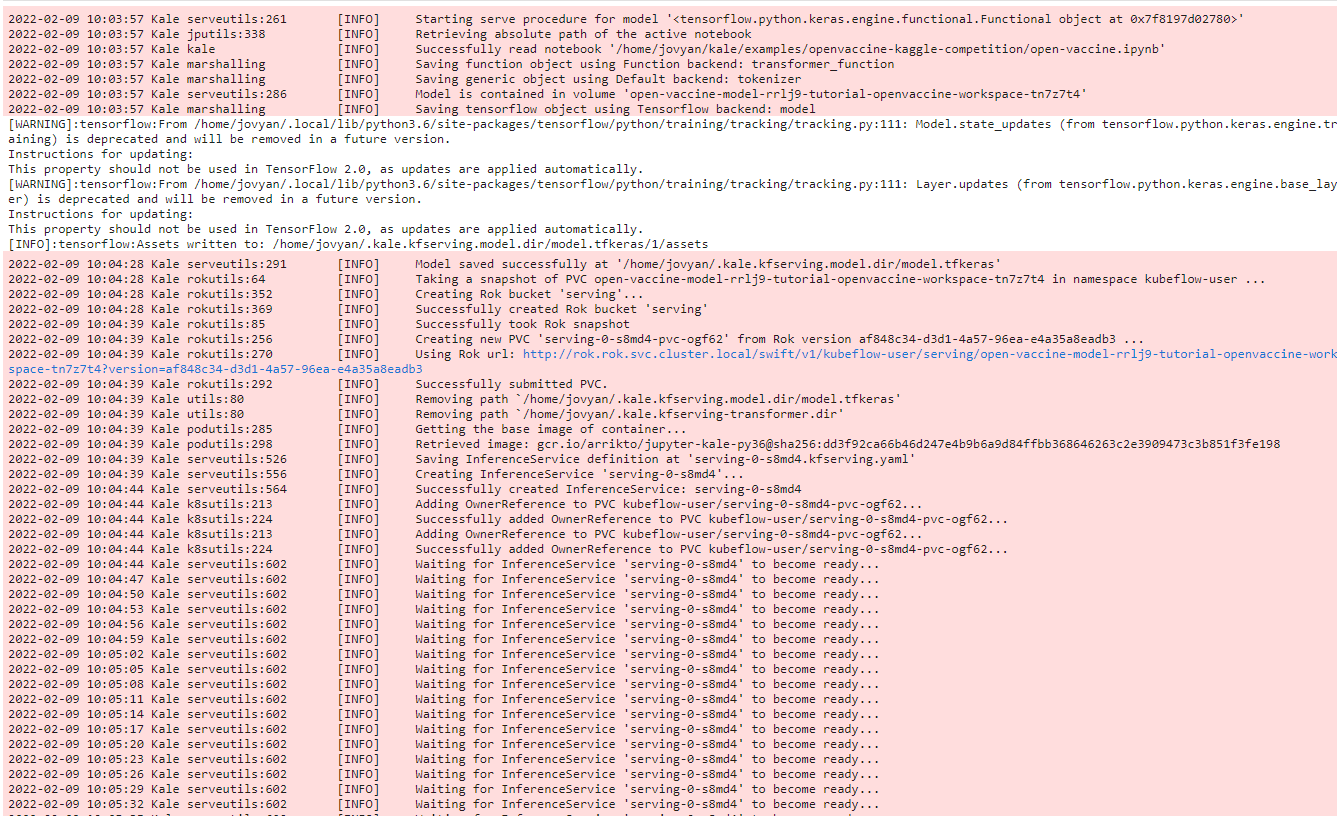
Kale recognizes the type of the model, dumps it, saves it in a specific format, then takes a Rok snapshot and creates an inference service.
After a few seconds, a serving server will be up and running.
c. View the server
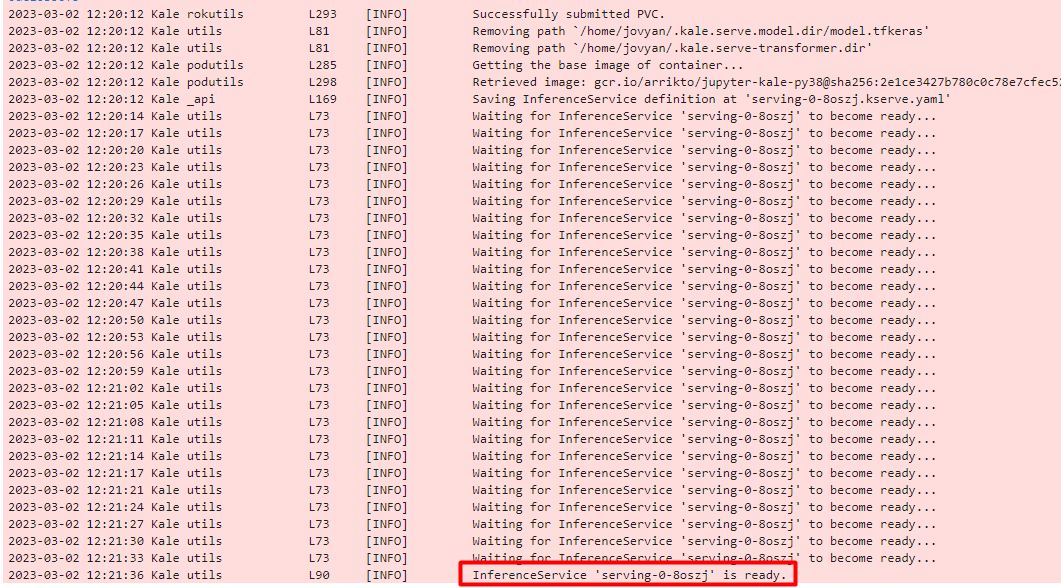
When the server is up and running, the following message will appear. Note the name of the inference service.
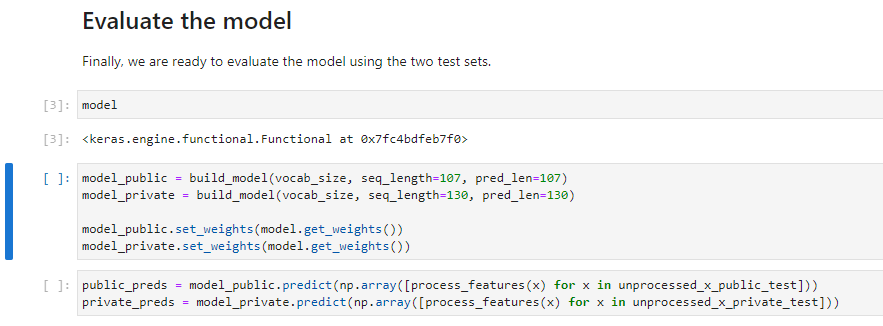
a. Create a new cell
Create a new cell, type model and run the cell to verify that the model is indeed in memory.
b. Serve the model with KFServing
Let’s now serve this model with KFServing using the Kale API. Go to the end of the notebook, add a cell, type the following command, and then run it:
from kale.common.serveutils import serve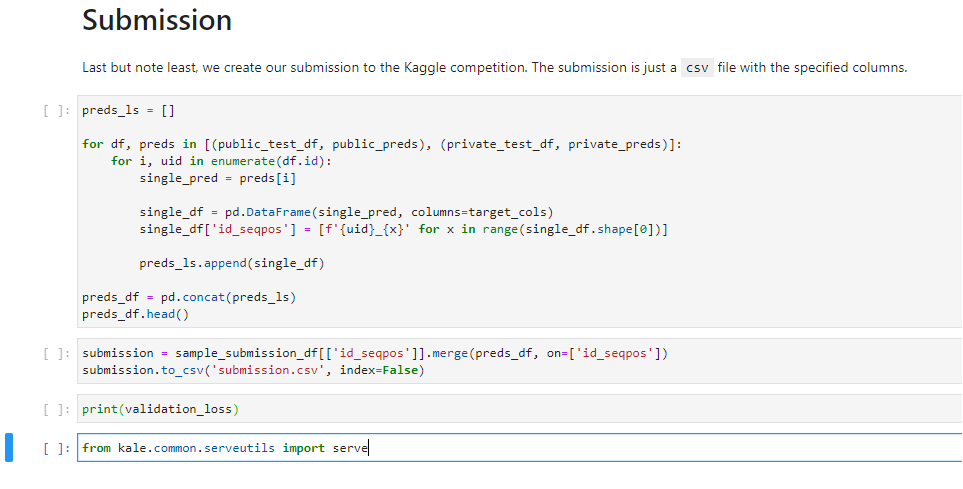
Serving the model is now as easy as running a simple command. In this course, we will also pass a preprocessing function and then serve the model.
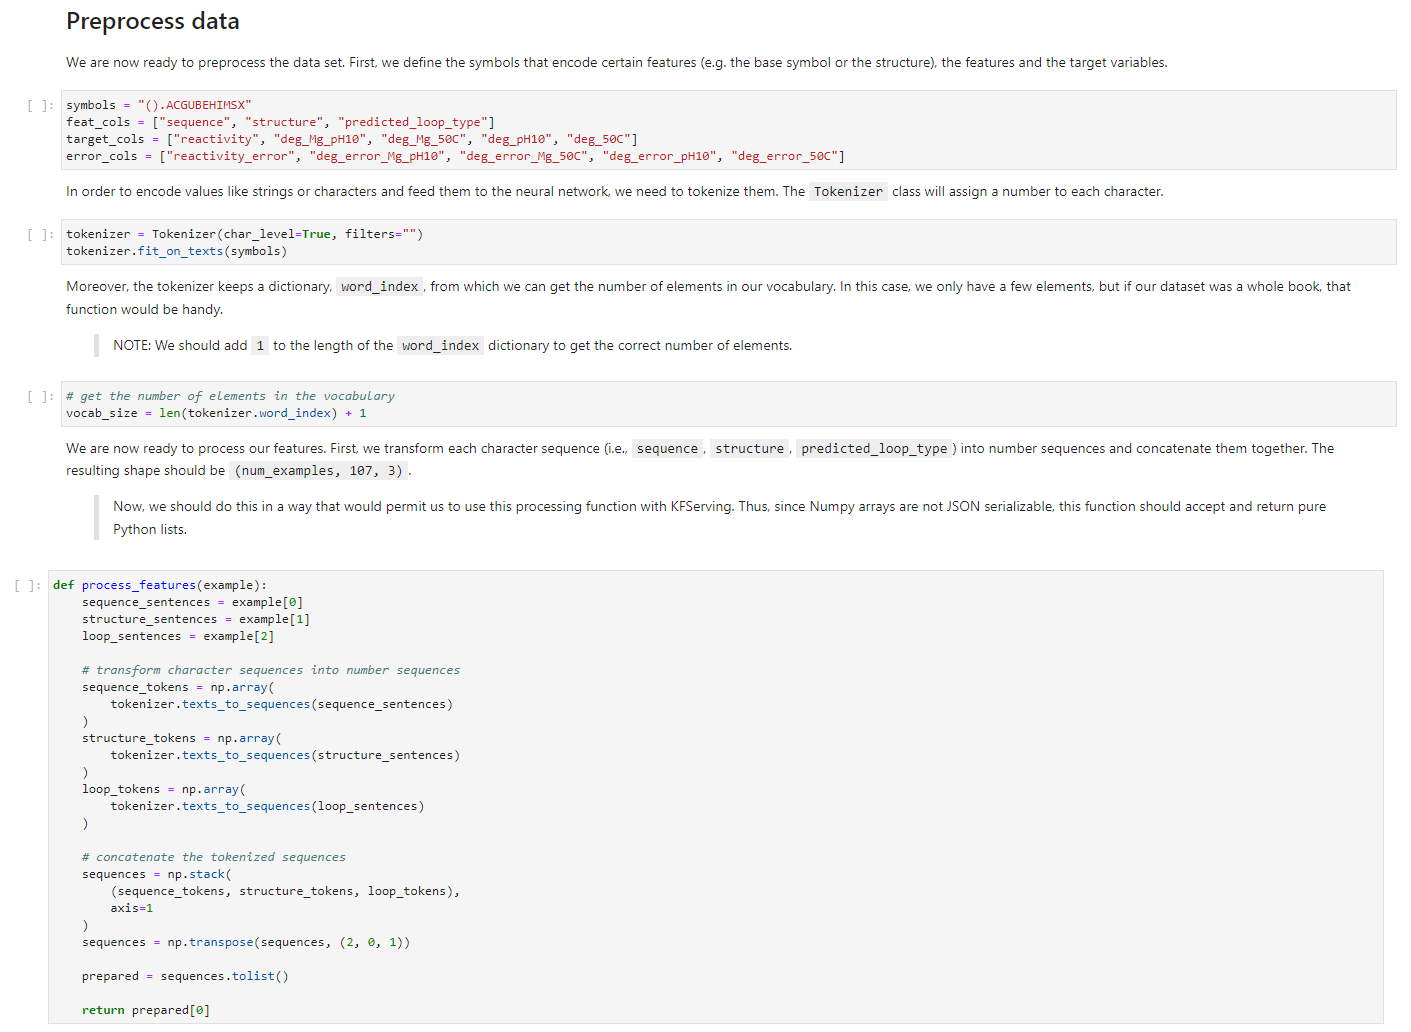
c. Run the cells from the Preprocess data
We first have to define the preprocessing function and the tokenizer.
Find the Preprocess data section in your notebook and run the following cells.
d. Create an inference server
Now, navigate to the end of your notebook, create a new cell, type the following command, and run it.
kfserver = serve(model, preprocessing_fn=process_features,
preprocessing_assets={'tokenizer': tokenizer})
Kale recognizes the type of the model, dumps it, saves it in a specific format, then takes a Rok snapshot and creates an inference service.
After a few seconds, a serving server will be up and running.

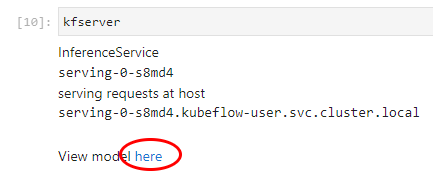
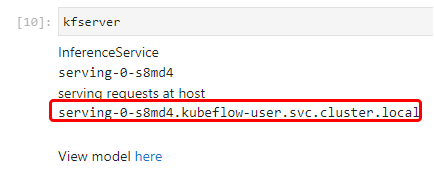
e. View the server
Now, create a new cell, type kfserver, and run it to see where the model is served.
2. Monitor the inference services
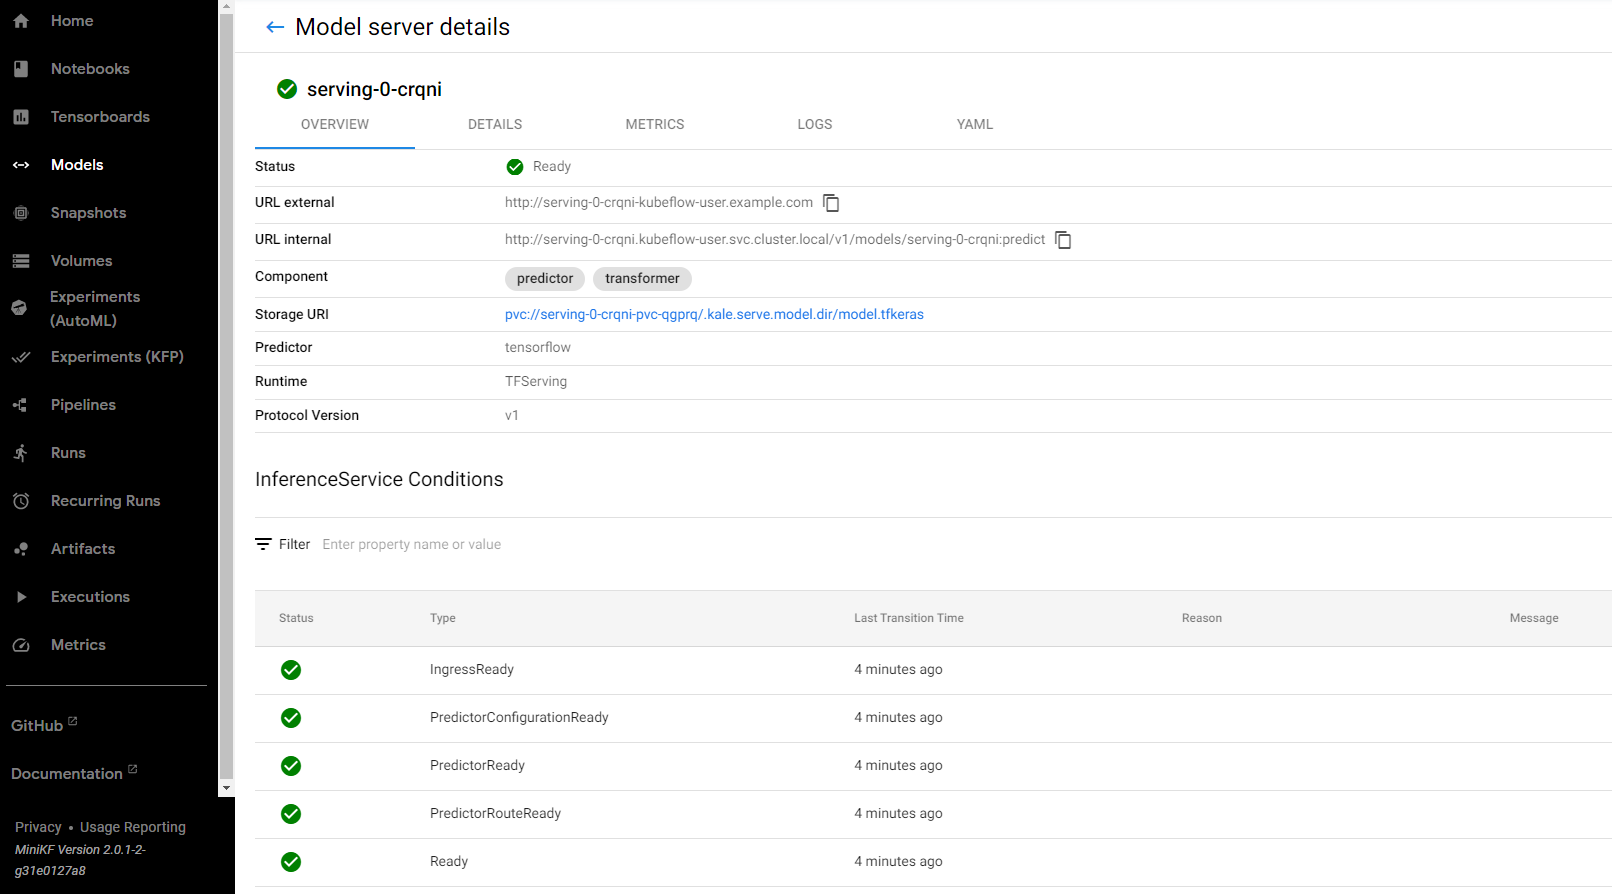
Here you can monitor all the inference services you deploy as well as review details, metrics, and logs:
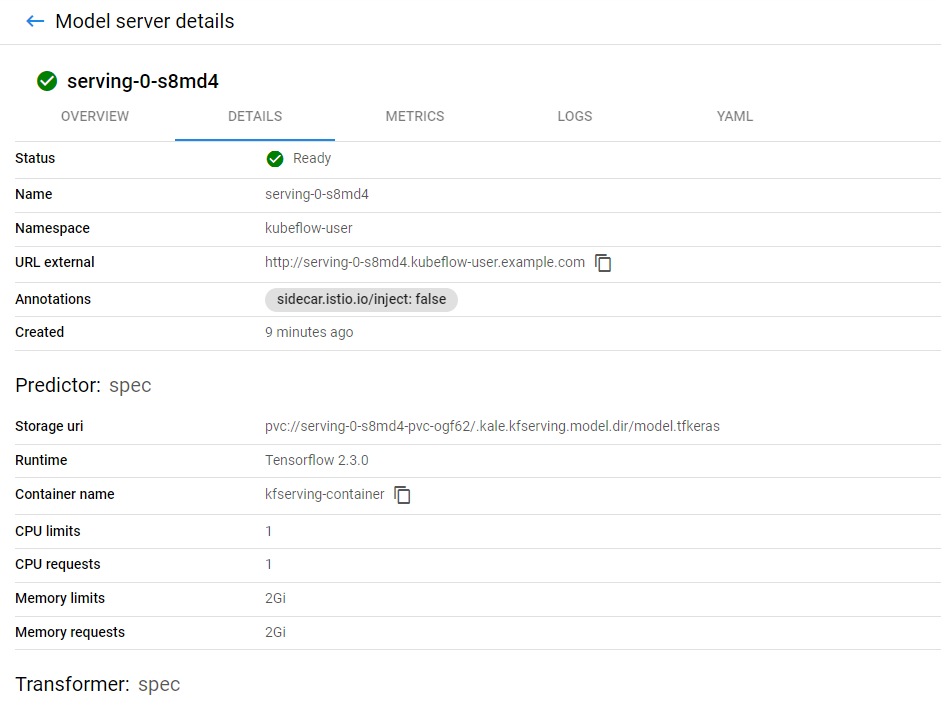
You can see more details on the DETAILS tab.
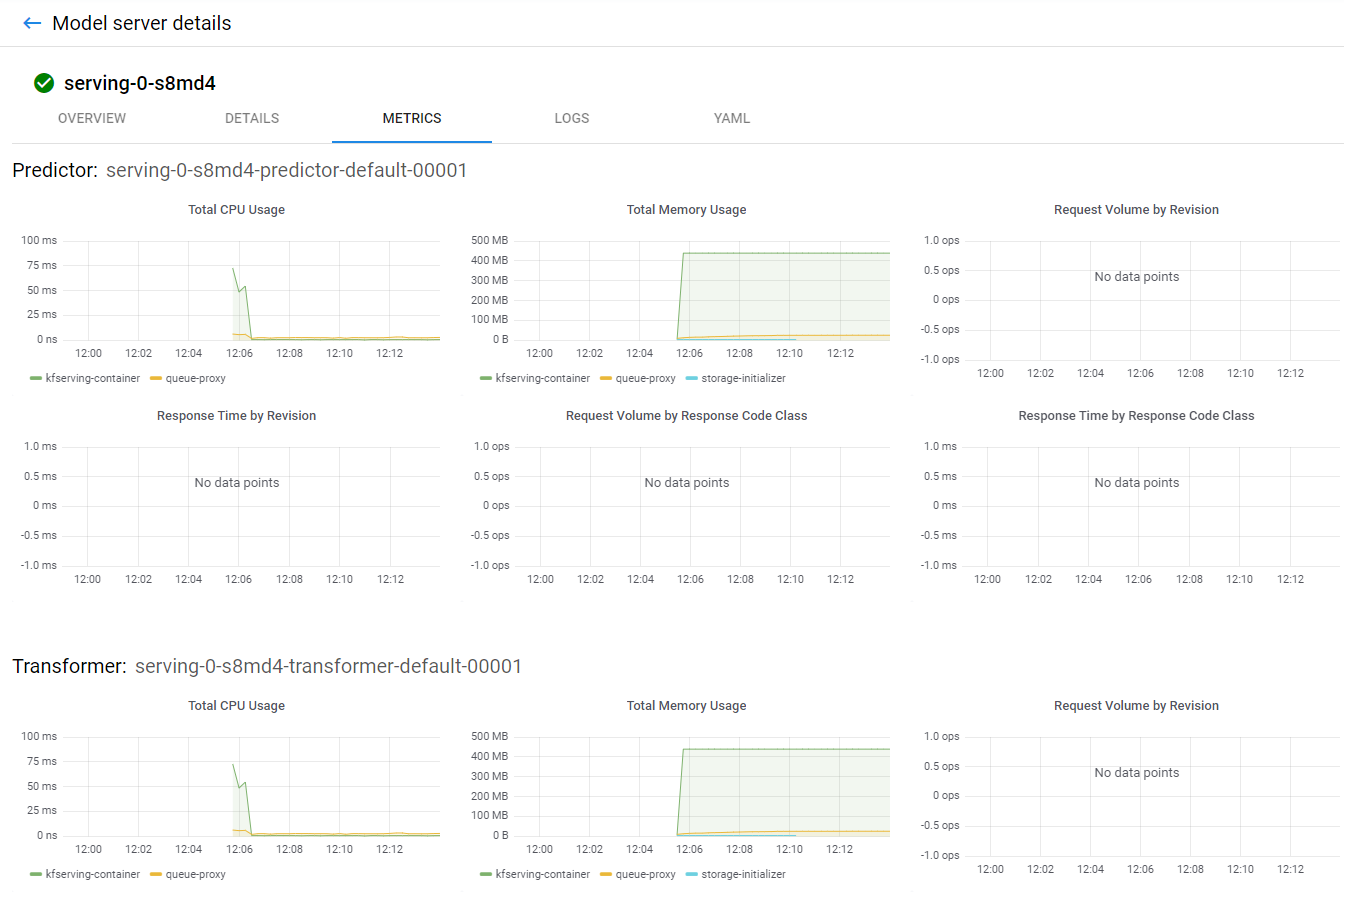
You can also see live metrics on the METRICS tab.
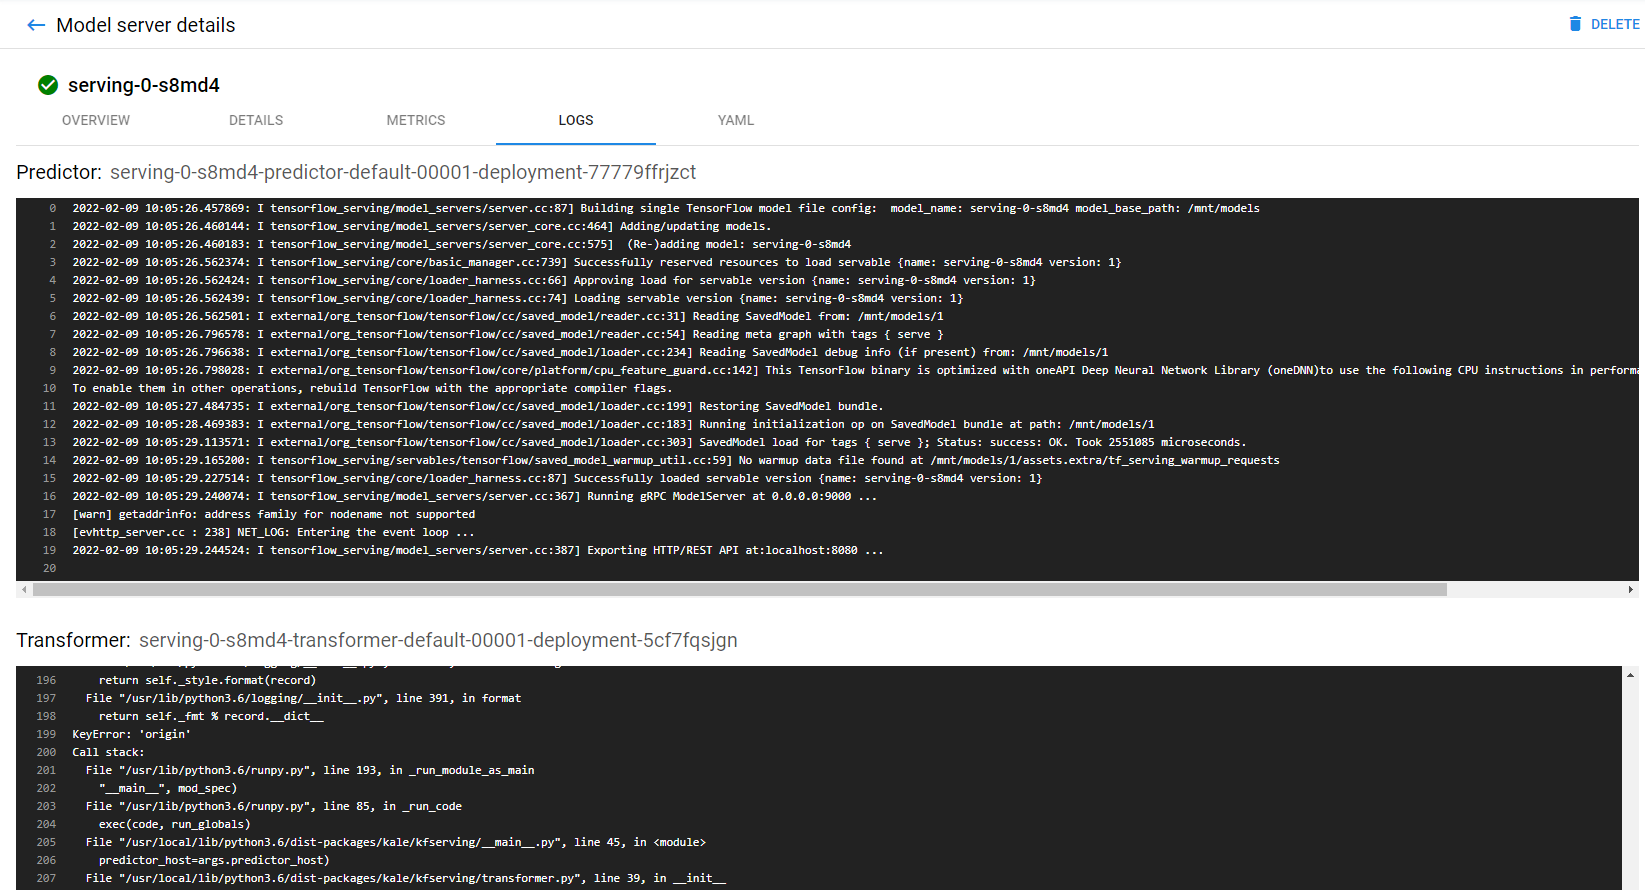
You can also see live logs on the LOGS tab.
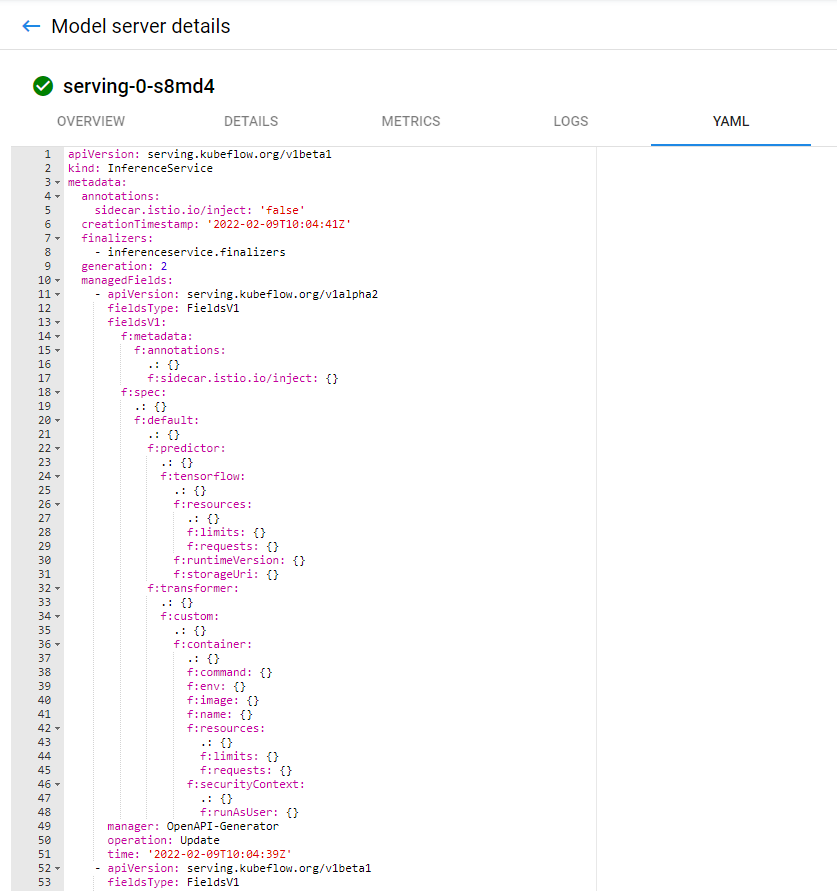
And finally the model definition at the YAML tab.
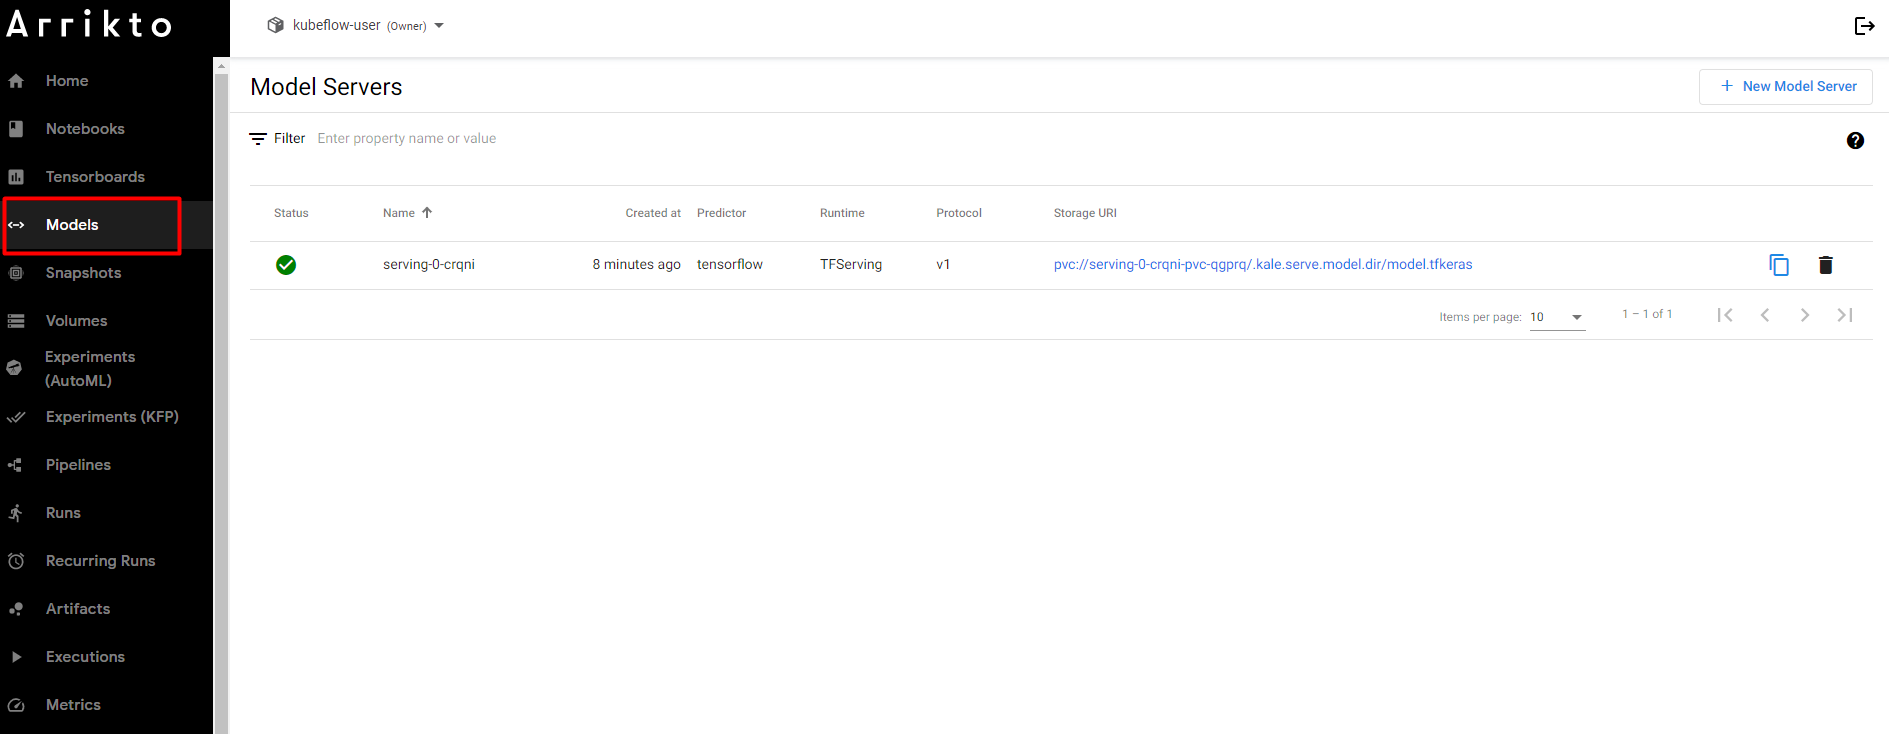
And this is the homepage of the Models UI, where you can find a summary of all your model servers, create new ones, and delete existing ones.
3. Make predictions using the served model
Choose one of the following options based on your version.
a. Invoke inference service
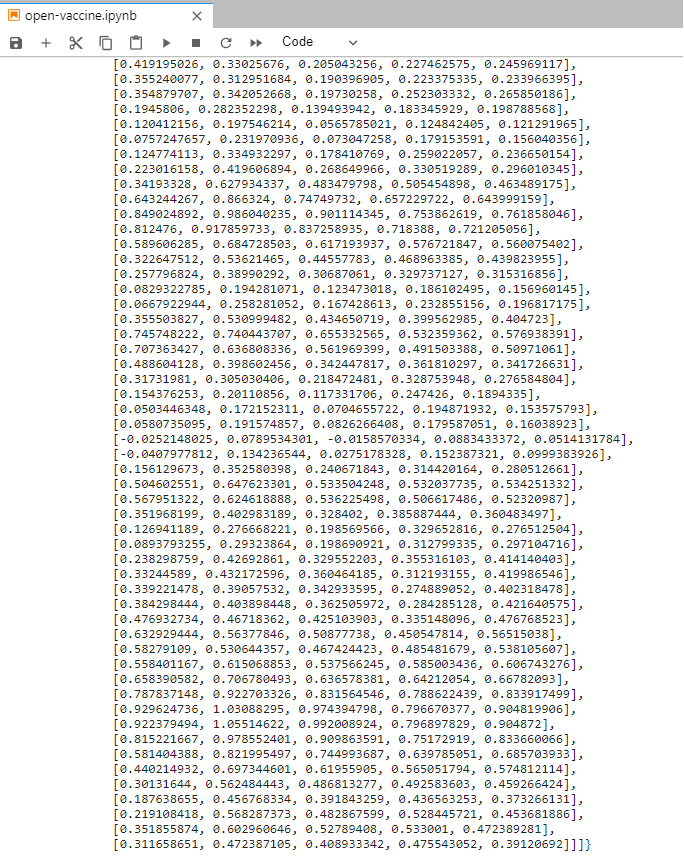
Let’s now go back to the notebook. Run the following cell to invoke the inference service to get back the predictions:

This may take some time. When finished you will see something like this:
a. Create and send the payload to the model
Let’s now go back to the notebook, and hit the model to get a prediction. First, we need to create the payload to send to the model. We will create a dictionary with an instances key, a standard way to send data to a TensorFlow server. We will also pass an unprocessed dataset that we defined previously in the notebook. To do all of the above, type the following command at the end of the notebook, and run it:
data = json.dumps({"instances": unprocessed_x_public_test})
b. Send a request to the model server
Now, let’s send a request to our model server. Type and run the following command, at the end of the notebook:
predictions = kfserver.predict(data)
If you go back to the model page on the Models UI, you can see live logs of the transformer receiving unprocessed input data and then processing them.
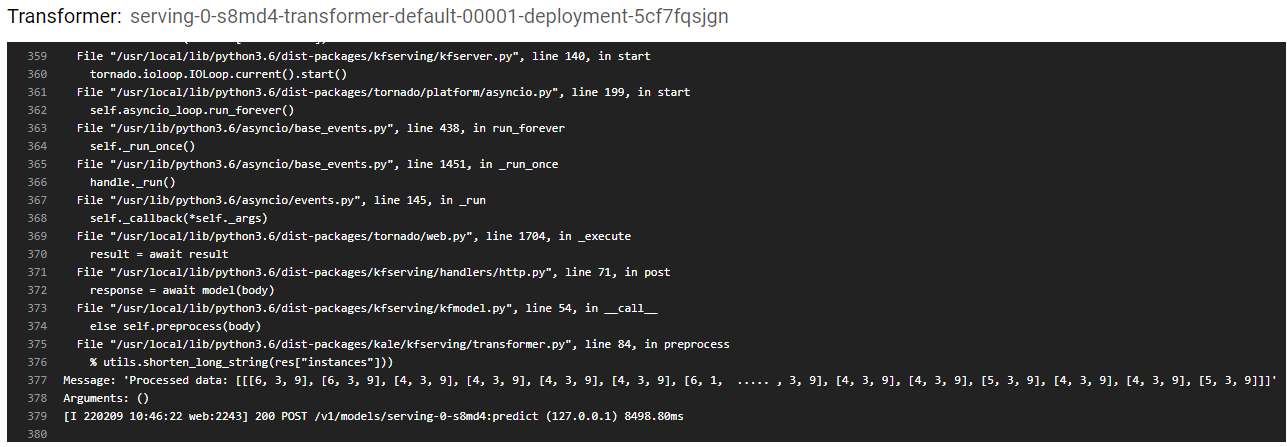
Everything happened automatically without having to build any Docker images. Kale detected, parsed, and packaged the input processing function and its related assets. Then created a new transformer, initialized it, and used it to process the raw data.
c. Print the predictions
If you go back to your notebook, you can print the predictions by adding a new cell and running this command:
predictions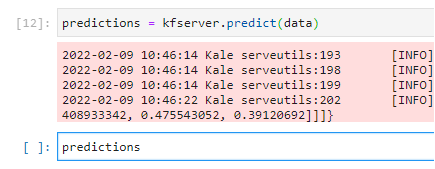
This may take some time. When finished you will see something like this:

Congratulations, you have successfully run an end-to-end data science workflow using Kubeflow as a Service, Kale, and Rok!

