(Hands-On) Create a Notebook Server in Your Kubeflow Cluster
The following is an excerpt from a live session dedicated to reviewing the Jupyter notebook that makes up the solution for this particular Kaggle Competition example.
After watching this video you will deploy a notebook server where you will use Distributed Training w/ PyTorch to create a model for the Corona Hack Challenge.
1. Check your Enterprise Kubeflow version
To check your version, refer to the bottom left corner in the Central Dashboard.
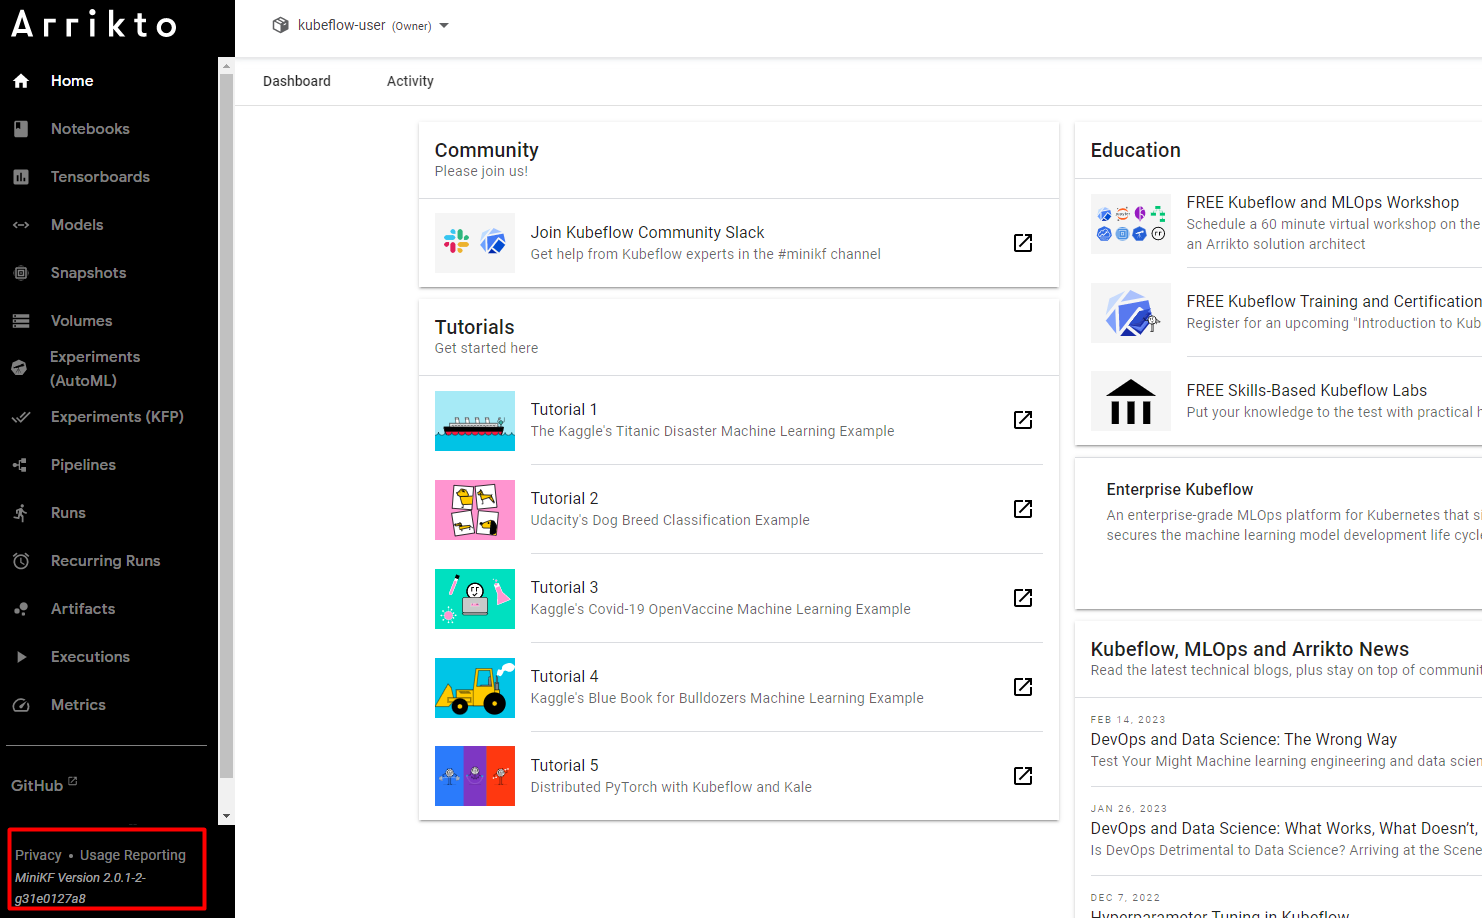
Remember your Enterprise Kubeflow version, as you will need to follow instructions that are specific to the version you are running.
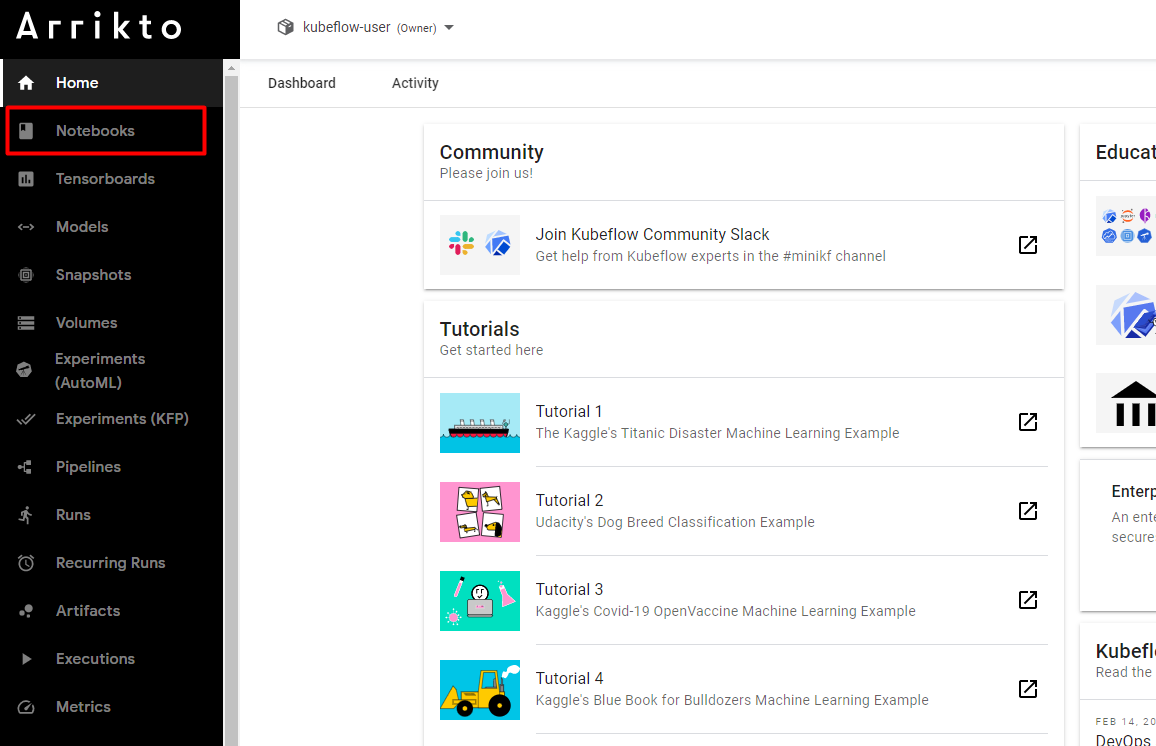
2. Navigate to Notebooks
Navigate to the Notebooks tab on the Enterprise Kubeflow Central Dashboard:
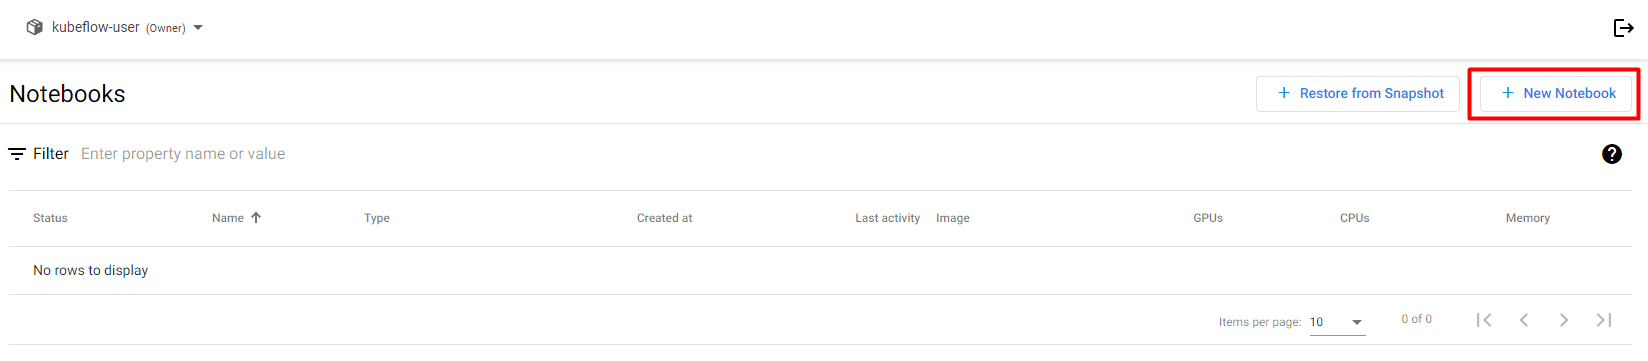
3. Create a new notebook
Click on + New Notebook.
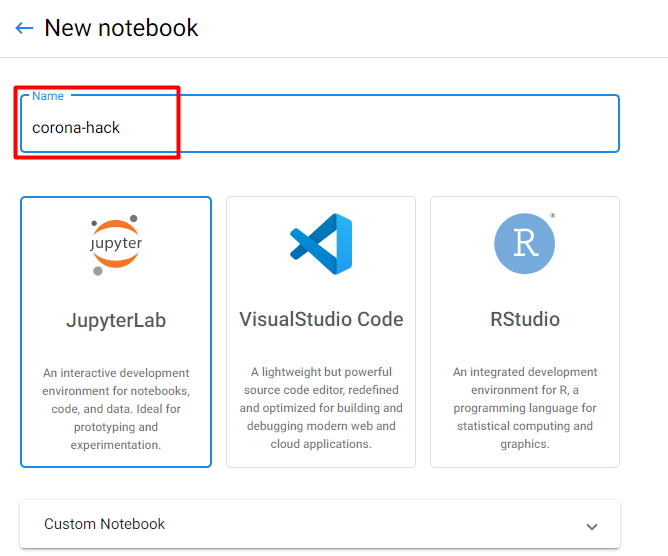
4. Name your notebook
Specify a name for your notebook:
5. Select Docker image
Make sure you are using the default Docker image. Choose one of the following options based on your version. This image will have the following naming scheme:
gcr.io/arrikto/jupyter-kale-py38:<IMAGE_TAG>gcr.io/arrikto/jupyter-kale-py36:<IMAGE_TAG>The <IMAGE_TAG> varies based on the Kubeflow as a Service release.
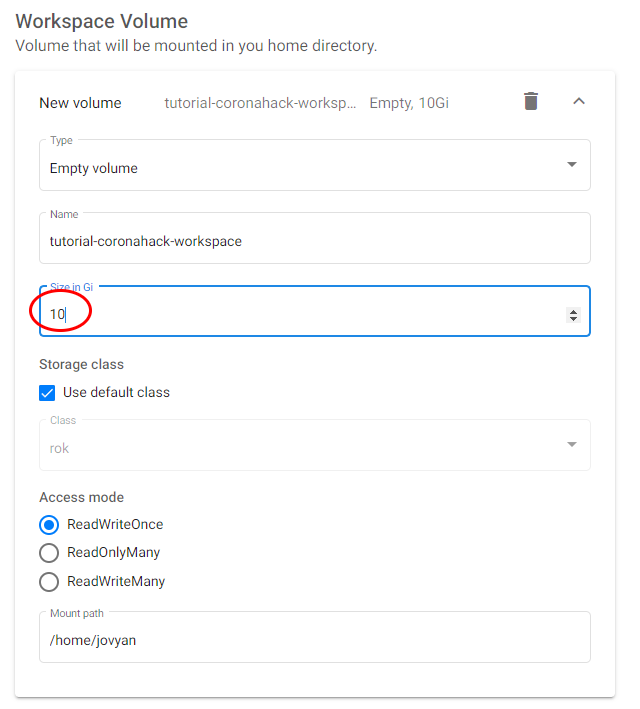
6. Increase the workspace volume size
Increase the Workspace Volume size to 10GB:
7. Create your notebook
Click LAUNCH to create the notebook:

8. Connect to your notebook
When the notebook is available, click CONNECT to connect to it:
