(Hands-On) Compile and Run a PyTorch Distributed Training Job
1. Open the Python file
In the sidebar, navigate to the folder examples/academy/coronahack-distributed-training/ and open the coronahack.py Python file.
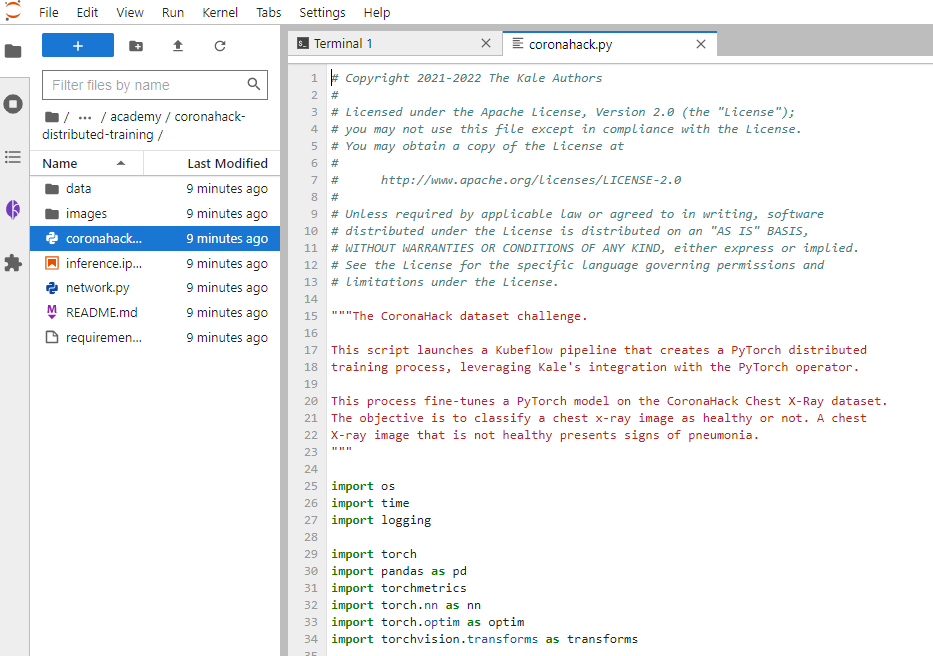
This script creates a Kubeflow pipeline which consists of five steps:
- The first step in the pipeline loads the dataset metadata and returns the DataFrames containing the metadata of the training and test subsets.
- The second step runs in parallel, defining the model, the loss function, and the optimizer. The model is a pre-trained ResNet-18 model with a modified output layer. ResNet is a common neural network architecture used for image classification.
- The third step in the pipeline creates and submits a PyTorchJob CR. This step is responsible for starting the distributed training job.
- The fourth step in the pipeline monitors the PyTorchJob CR and streams the logs of the Pod running the master process.
- The fifth step in the pipeline deletes the PyTorchJob CR. This step is necessary because there is no automatic garbage collection mechanism to remove resources once the job completes. Also, note that this step is currently commented out so that you can decide if you want to inspect Pods and PVCs after the job completes.
2. Produce a workflow YAML file
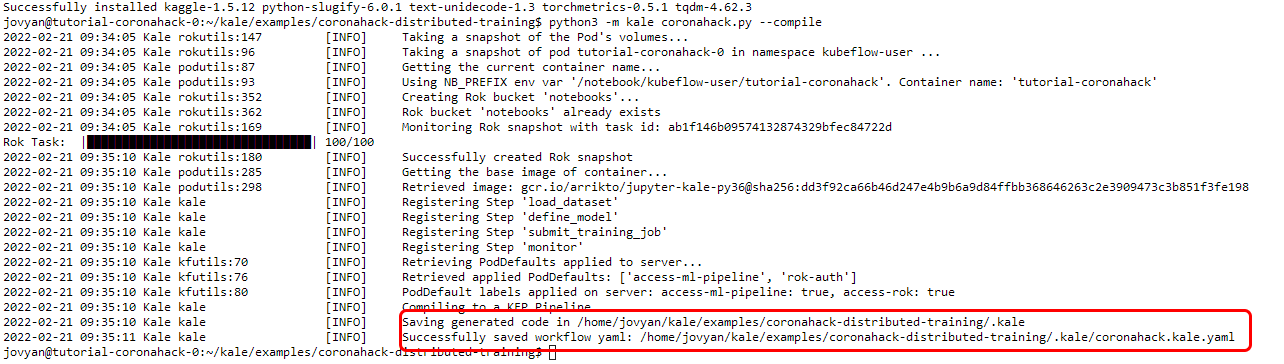
Go back to your terminal and run the following command to produce a workflow YAML file that you can inspect:
python3 -m kale coronahack.py --compileAfter the successful execution of this command, look for the workflow YAML file inside a hidden .kale folder inside your working directory.
3. Deploy and run your code
Deploy and run your code as a KFP pipeline:
python3 -m kale coronahack.py --kfp